【2026 痞客邦搬家 WordPress 完整教學】Namecheap 網域 + Hostinger 主機購買攻略|折扣碼+TopCashback 省錢實測

最近 痞客邦 改版,也終於把我這個超過10多年的老網友氣走了….. 很多心血都幾乎毀於一夕R … 閱讀全文
最近 痞客邦 改版,也終於把我這個超過10多年的老網友氣走了….. 很多心血都幾乎毀於一夕R … 閱讀全文
再次把整個廣告曝光上架流程做一遍 , 這次則把 PopMyads 餘額花掉,並加上Binom追蹤器 上次把Po … 閱讀全文
如何開始你第一個聯盟營銷的廣告,教你如何設定流量源 PopAds+BeMob 跟蹤器 萬事起頭難,這裡有非常詳 … 閱讀全文
本篇將透過最詳細的Setapp介紹,讓大家快速了解這款 Setapp訂閱制的MacOS App 軟體平台,替所 … 閱讀全文
If you are using Windows 11, you’ve probably noticed th … 閱讀全文
Searching for ways to get free Cash App money in 2025 o … 閱讀全文
Since I started working, Gmail has become something I c … 閱讀全文
After upgrading to Windows 11, many users don’t first n … 閱讀全文
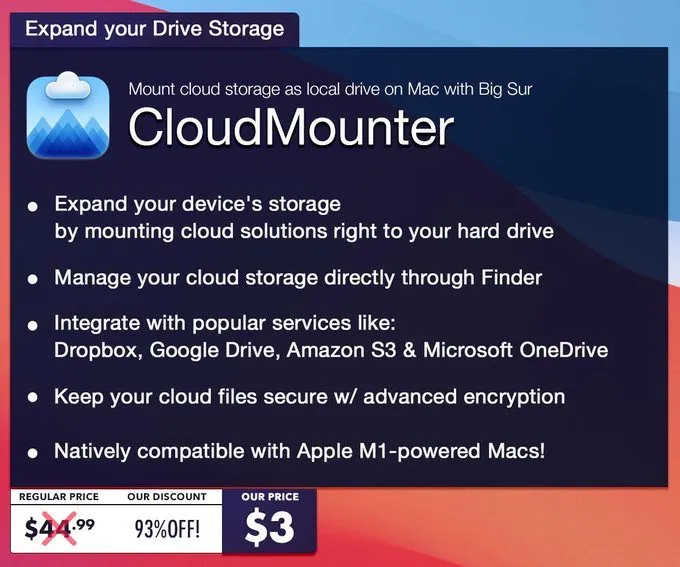
2021 好消息史詩級Bundlehunt 第2波(2nd. Bestselling) … 閱讀全文
Screens 是一款遠程桌面管理工具。 無論身在何處,都可以使用遠程連線。 有了這個強大的 Mac 屏幕共享 … 閱讀全文